I haven't visited for a while. I had a crazy idea and have been spending all my time trying to clear up the mess I made rearranging my favourite room.
The crazy idea started when my parents recently moved house. In our family when we are not using furniture, or it doesn't fit, or we are not sure if we want it anymore, we move it into the garage. When my parents moved they decided it was time to get rid of their wall unit. This bad boy had been sitting in the garages of their last two homes. I had to have it. My husband was horrified. But it is for my studio, it will look fabulous when I paint it etc etc. So into our garage it moved. I then decided that my craft room needed a major overhaul and it would become The Studio. Yes, it does have to be in capitals! So The Studio needed to be tidied, rearranged and everything within view would become a shade of white. My theory being that if it is all neutral then the clutter will gain importance and look much more arty! (Say it in a posh voice - Arty)
You can guess what happened next everything got pulled out cupboards, drawers, shelves, junk , crap, rubbish, treasures... everything! Then I realized I needed to paint the furniture before I could reorganize anything.
Please note: I do not recommend this style of organizing - it is hazardous to your health and your marriage!
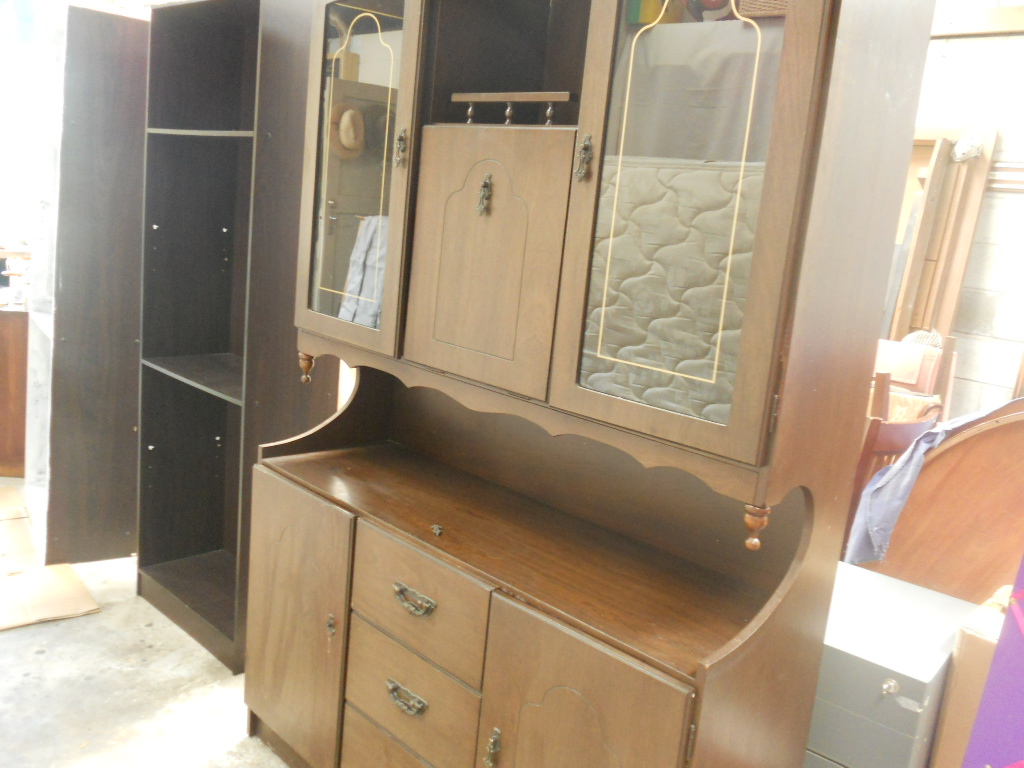
So the Big Ugly Brown Dresser as it was
And now ....
I removed the upper cupboard doors and have distressed all the edges. Take care when 'borrowing'a tool from your husbands work bench, it seems they don't always love it when you use their stuff to scrape the paint off all the edges! Who knew??
I couldn't resist showing you one of my junk shop finds - I love this poofy chair!
I also decided to paint the Charity Shop drawers.
I love both of these pieces. Wait till you see them in my room. I can't wait till it is tidy enough to show you.
I have so much to catch up on. I have just returned from a few fabulous days away and will catch up on that tomorrow.
Today I wanted to show you my Rusty tins I have made. I have never altered a tin before, and never thought it would be this much fun. I will definitely be making another mess soon with an altered tin to show at the end of it.These projects were made from tins that I found here in New Zealand. We do not have altoid tins here so I will be trawling the internet for some as they are a different size to the ones shown here, and I love to play with every type I can! The projects here are made from a gift card tin from Farmers and the other is an Eclipse mint tin.
The rust effect was created with the Langridge rust system. There are two bases one for rust and the other for verdigris. Once the base is dry you add the oxidising patina and wait and watch! I added two coats of the base and also varied the amounts of base and patina in different areas to get variation in the colour.
Inside the tin are a selection of images from The Graphics Fairy and embellishments I made with the rust effect on cardboard shapes. I dyed the seam binding to colours that I liked to match.
I love the Gypsy Queen Bee Tin and hope that its new owner The Ellen Bee enjoys it.
This little tin is all about the rust. I have layered three pieces which have been coloured with rust effect, verdigris, cinnamon stickles and lumiere paint in blue halo gold.
The tiny tag inside the tin is made from layers of cardstock stuck together to get some weight and dunked in rust, along with a few of the charms.
I love my little tins and hope you like them too. If you would like to see more I have made a video record of them, which can be found here
The theme of the Simon Says Stamp challenge this week is Rustification (Fabulous word!) I am going to attempt to link this up. I have never done that before so wish me luck. My first challenge, my first link and my first altered tin! Who knew there would be so many first times??
Love to hear what you are attempting for the first time!!
What do you think of the new blog design? Thanks to my gorgeous son Ethan for redesigning the background and making it look like a real one! Especially since I broke the last one. I will not push any buttons until I know what they are for in the future. I swear. One of things on my To Do list is catch up with technology. It is not going well so far. If you know of any good online tutorials with titles such as Idiots guide to .... blogging, You tube, Photoshop, I would be thrilled to hear about it.
In the new design we have included some new tabs including one for the Store. I have sold a few of my creations in the past and will post pictures here of anything available for sale. I also create to order if you would like a special present for a particular occasion, contact me to discuss further.
I also managed to film a video today to catch up on a few of my recent projects. I have been making lots of journals. I love the flexibility it gives for doodling, taking notes, photos, anything you want.
This is a dedicated page for those interested in tutorials for particular goods featured on my blog or my YouTube. It will be constantly updated with links to new tutorials.
If you have any tutorial requests, please feel free to comment them below and I'll get to those requests as soon as I can.
Hi and welcome to my blog. My name is Michelle Mooney.
I love paper, stamps, inks, paints, stationery, altering things, book making, pinterest and lots of other things yet to be discovered. This blog is a record of the things I make and learn on my creative journey.

.JPG)
.JPG)
.JPG)